Getting Started
Welcome to LibreApps Desktop! This guide will help you set up your development environment, install the project, and launch your first dashboard.
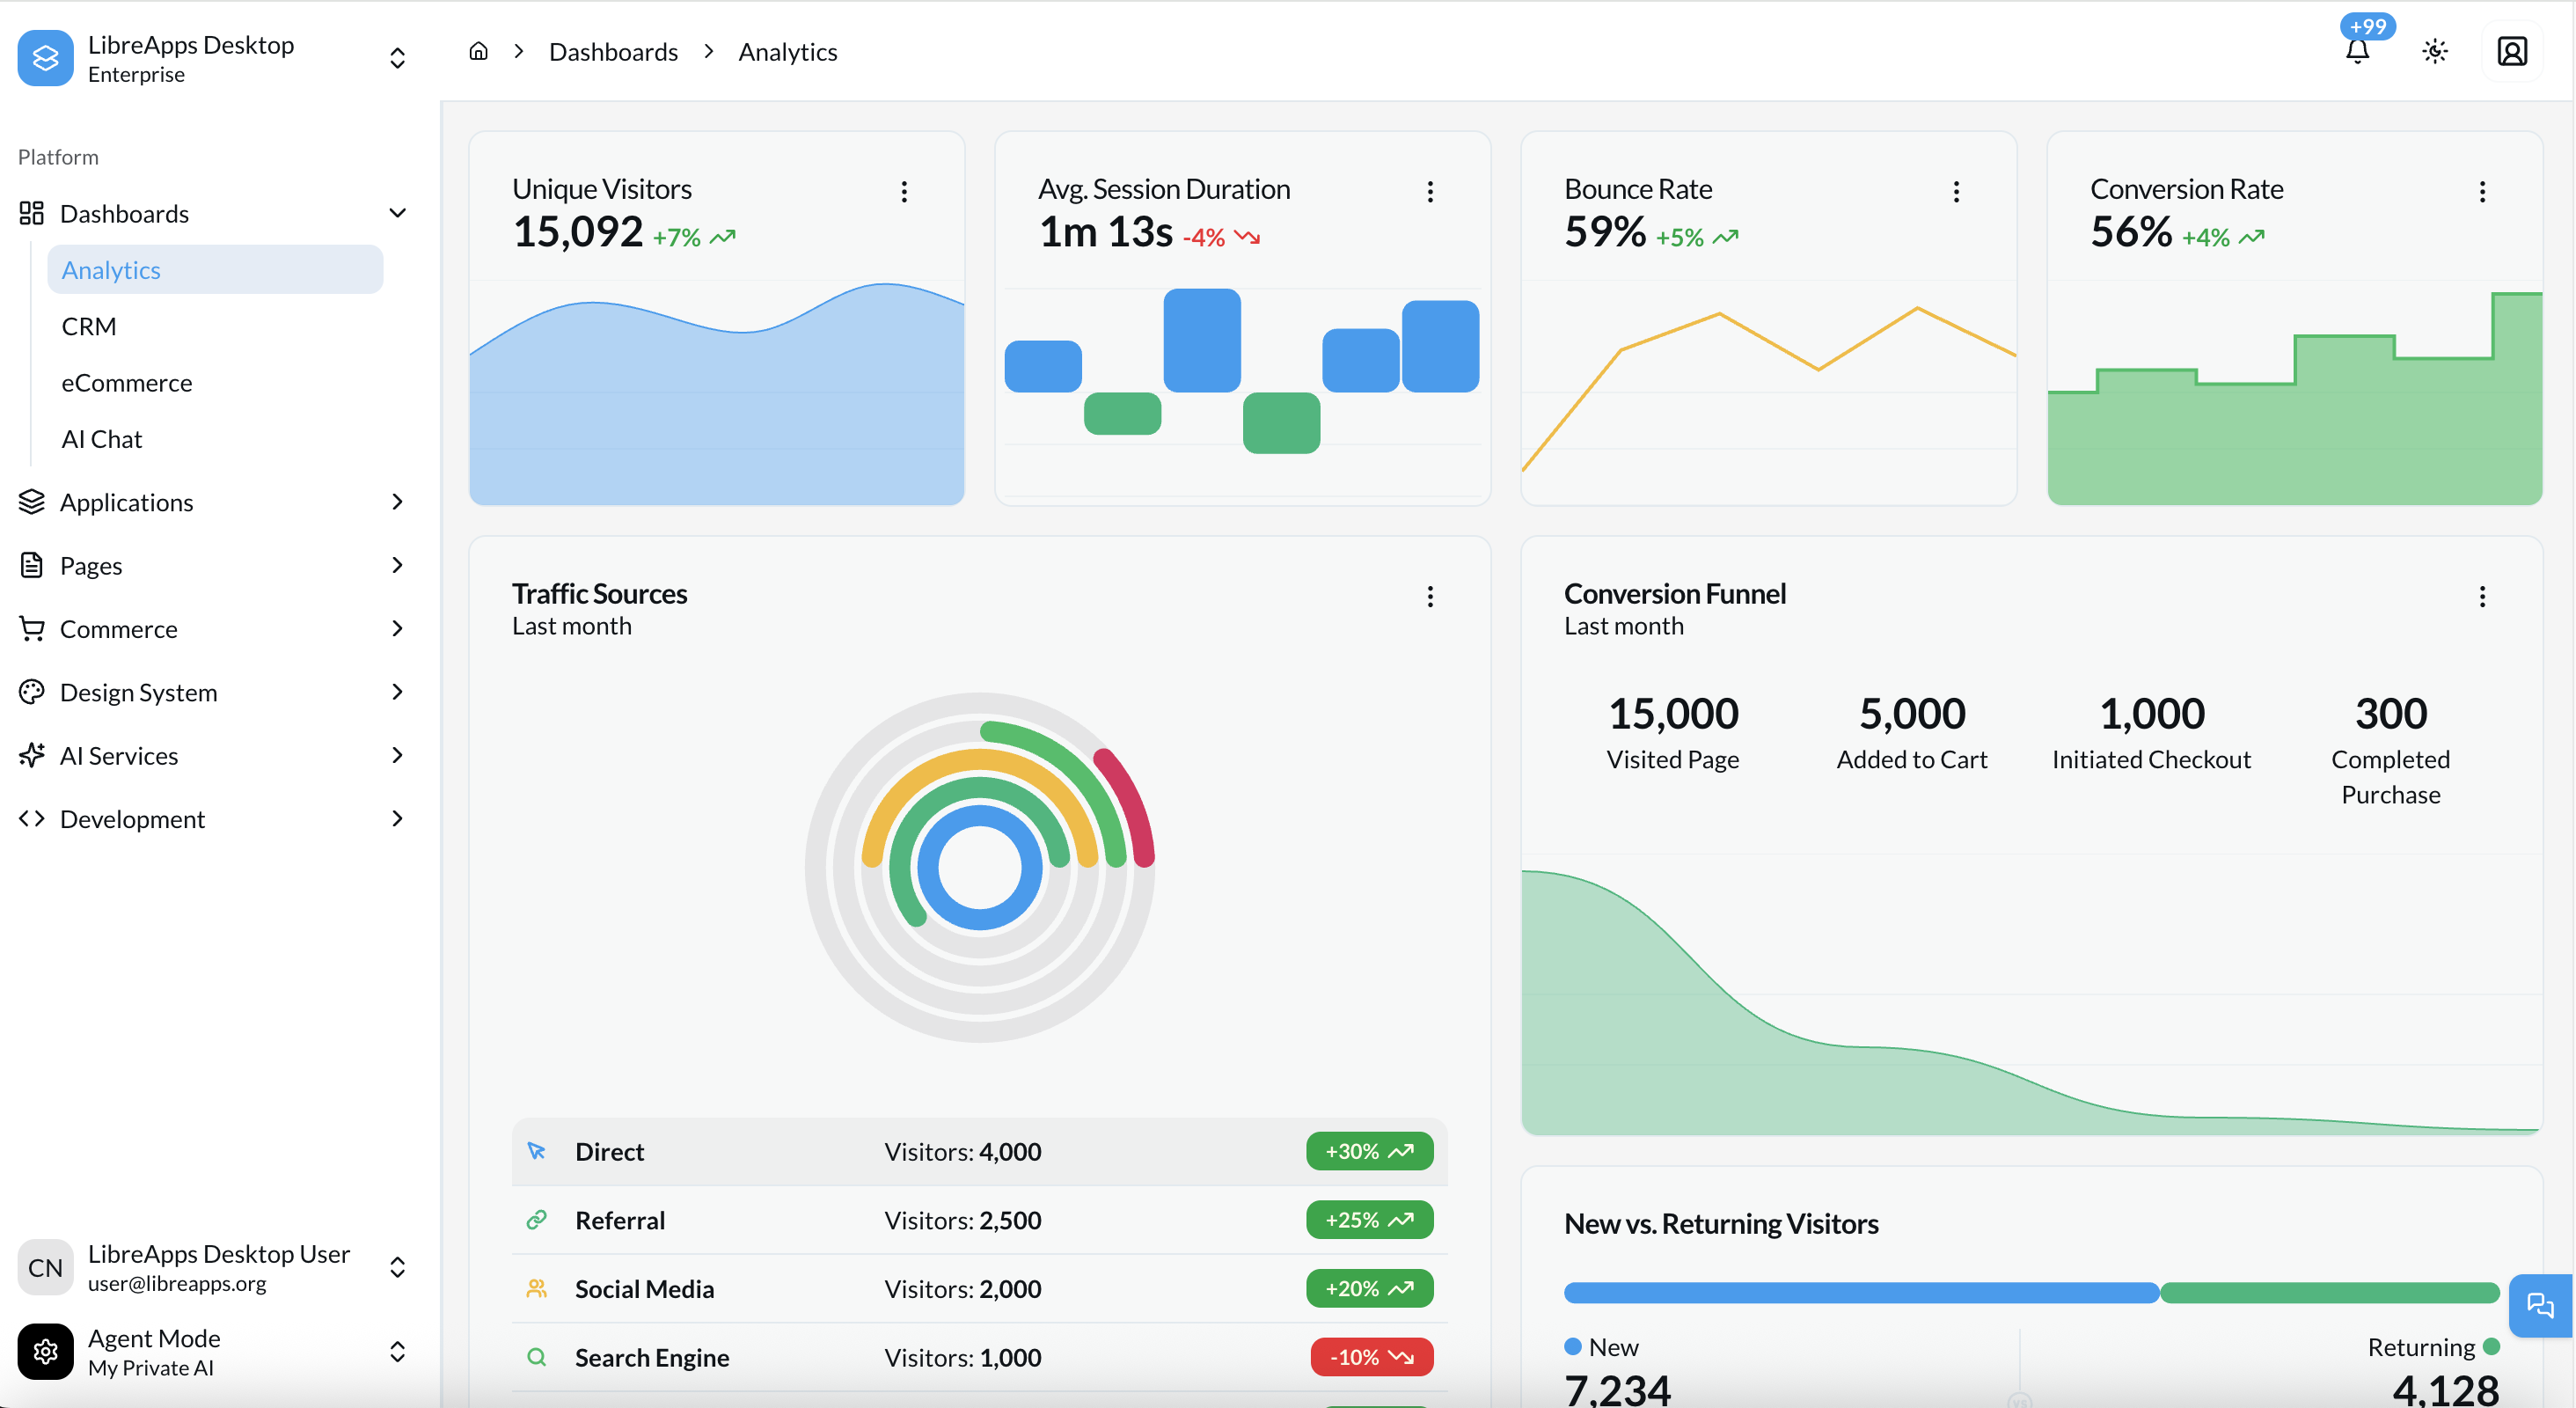 The LibreApps Desktop dashboard provides a unified interface for AI-powered workflows and enterprise applications.
Introduction
Getting started with LibreApps Desktop is designed to be straightforward. Whether you're a seasoned Next.js developer or just starting out with AI applications, we've provided the tools and documentation to make your journey smooth.
The Setup Process
To get LibreApps Desktop up and running, you'll follow these high-level steps:
- Prerequisites: Ensure your machine has the necessary software (Node.js, pnpm, Git).
- Installation: Clone the repository and install dependencies.
- First Run: Launch the development server and access the dashboard.
- Configuration: Set up your environment variables and basic settings.
Choose Your Path
LibreApps Desktop offers two main entry points depending on your needs:
- The Full-Kit: Our feature-complete application including all apps, dashboards, and integrations. Best for starting a real-world project.
- The Starter-Kit: A minimal boilerplate with just the core architecture. Best for learning or building highly custom applications from scratch.
Key Concepts to Know
Before you begin, it's helpful to understand a few core concepts:
- Rebrand Engine: Our automated system for changing brand identity via
settings.md. - Upstream Workflow: How we maintain a link to the original Shadboard project for easy updates.
- Theme System: The dual HSL/OKLCH color system that powers our visual design.
Let's begin! Check Prerequisites →